Funny how a garden can bring up memories- just as a smell, (such as created when a tomato leaf is brushed against), a sight, (corn always reminds us of our kids chasing each other through the corn stalks towering about their heads), or a sound (a tiller motor always means spring is here) can transport one back to a moment far back in time, but deep inside the mind and heart. It really is a special experience for anyone willing to savor the moments.
Showing posts with label From The Kitchen. Show all posts
Saturday, April 27, 2013
Dinner For the Soul
Some people jump out of planes; others put faux wings on their backs and jump off of a cliff, others try to hike up an enormous mountain in the dead of winter and try not to get caught in an avalanche- (we could list a million things that people do for a momentary thrill) however, here at Sweet Pickles Farm, we believe in being very careful with our gift of life, but still we love the delicious feeling of living life to the full. For us, the awakening of spring, with delicate green heads of plants planted a few years ago, almost forgotten, but with a strong will to live and prosper, emerging from the soil and being applauded by the ones who planted them, and then promptly experienced brain fog and could not for the life of them remember what they were. They seem to love us nonetheless, and delight us with their presence each spring; perhaps this is one reason we were impelled to begin a blog- our memories are not the sharpest tools in the shed these days. (Which reminds us we have some maintenance to do on our garden implements--but that is a digression).
Funny how a garden can bring up memories- just as a smell, (such as created when a tomato leaf is brushed against), a sight, (corn always reminds us of our kids chasing each other through the corn stalks towering about their heads), or a sound (a tiller motor always means spring is here) can transport one back to a moment far back in time, but deep inside the mind and heart. It really is a special experience for anyone willing to savor the moments.
Poppy and Mamie have so many great memories with their children. We were fortunate on a limited budget to be able to go to New York and visit Bethel, also the top of the World Trade center shortly before it was no more... and to visit many towns such as Eureka Springs, Arkansas; Coffeyville, Kansas; where the Dalton brothers robbed the bank and kissed life goodbye, and Mansfield, Missouri; where we visited the last home of Laura Ingalls Wilder and her husband, Almonzo. Lovely memories of whale-watching and eating lobster with butter and lemon in Maine, and of course, the frivolous but lovely memories at Disney World, Florida. (Oh, and how we had to force our son onto the rides that he ultimately loved!)
Funny how a garden can bring up memories- just as a smell, (such as created when a tomato leaf is brushed against), a sight, (corn always reminds us of our kids chasing each other through the corn stalks towering about their heads), or a sound (a tiller motor always means spring is here) can transport one back to a moment far back in time, but deep inside the mind and heart. It really is a special experience for anyone willing to savor the moments.
Monday, April 15, 2013
Creme Caramel
Classic Creme Caramel:
1 cup milk (we only had skim, so we added 1/2 & 1/2)
1/2 vanilla bean or 1 tsp. vanilla extract
1 cup sugar
3 egg yolks
2 eggs
Pinch salt
1/2 vanilla bean or 1 tsp. vanilla extract
1 cup sugar
3 egg yolks
2 eggs
Pinch salt
For the caramel:
1/2 cup sugar
1/2 cup sugar
For the custard:
Heat the oven to 325°F. Heat the cream and
milk in a medium saucepan over medium heat until scalded (you'll see small
bubbles on the sides of the pan). Split the vanilla bean in half, if using, and
scrape the seeds into the cream. Meanwhile, in a medium bowl, slowly
whisk 1/2 cup of the sugar into the egg yolks and eggs. Slowly whisk
the hot cream/milk into the sugar/yolk mixture. Strain the mixture through a
fine sieve into a pitcher or measuring cup. Stir in the salt and vanilla
extract, if using.
For the caramel:
Arrange six 6-oz. ramekins in a baking dish
with deep sides and set aside. Put remaining 1/2 cup sugar in a clean saucepan.
Carefully add just enough water to dissolve the sugar, and set the pot over
high heat.
After a few minutes, the mixture will come to
a furious boil; several minutes later, as more water evaporates, it will boil
more viscously, and finally it will start to color. Swirl the pan around to
even out the caramelization. Once the sugar has started to caramelize, watch it
carefully. It takes just seconds for caramel to go from great to burnt. (We burned our first batch; the next time, we picked it up off the burner before it was quite brown enough, and the residual heat from the pan was enough to finish the browning. Lesson learned!)
When the caramel is an
even dark brown, carefully pour it into the ramekins. Caramel at this stage is
over 300°F, so be extremely careful when handling it. Divide it evenly so that
each ramekin is covered with a thin layer of dark brown caramel.
To bake:
Pour the custard into the caramel-lined
ramekins, fill the baking dish with water to come halfway up the sides of the
ramekins and cover the dish with foil. Bake until just set, 25 to 50 minutes.
Remember to start checking early; baking time will depend on the thickness and
depth of your ramekins and baking dish. Carefully remove the baking dish from
the oven and let the ramekins cool in the water bath. Remove, cover with
plastic wrap and refrigerate at least 2 hours or up to 2 days.
Run a thin knife around the edge of the
custard and invert onto a dessert plate, scraping any caramel from the ramekin
onto the custard.
So here is our run at this dessert:
Thursday, April 11, 2013
"Baked Camembert Cheese with Thyme and Wine"
Today Poppy had to go to work which required some traveling. At 5:15 A.M. this obnoxious noise started- was it a low flying plane? the dishwasher motor going haywire? no, maybe it was the fire alarm?...Oh, hold on, it was the alarm clock! Poppy is so ambitious... but really 5:15 A.M.? And it is raining...UGH! So, he reaches over and destroys the noise maker and pretends to sleep for thirty more minutes. Needless to say, the day begins.
After the normal routines Poppy is off to work. Mamie is busy getting her chores done and she comes back to find this...
"Please, don't make me get up"
Wednesday, April 10, 2013
Swiss Chard Tart!!!
As we have mentioned, we have discovered that we love Swiss Chard. After our trip to see our beautiful Grandson, (here you see Pickles trying to figure out what this little creature was- the look on her face explains it all!)
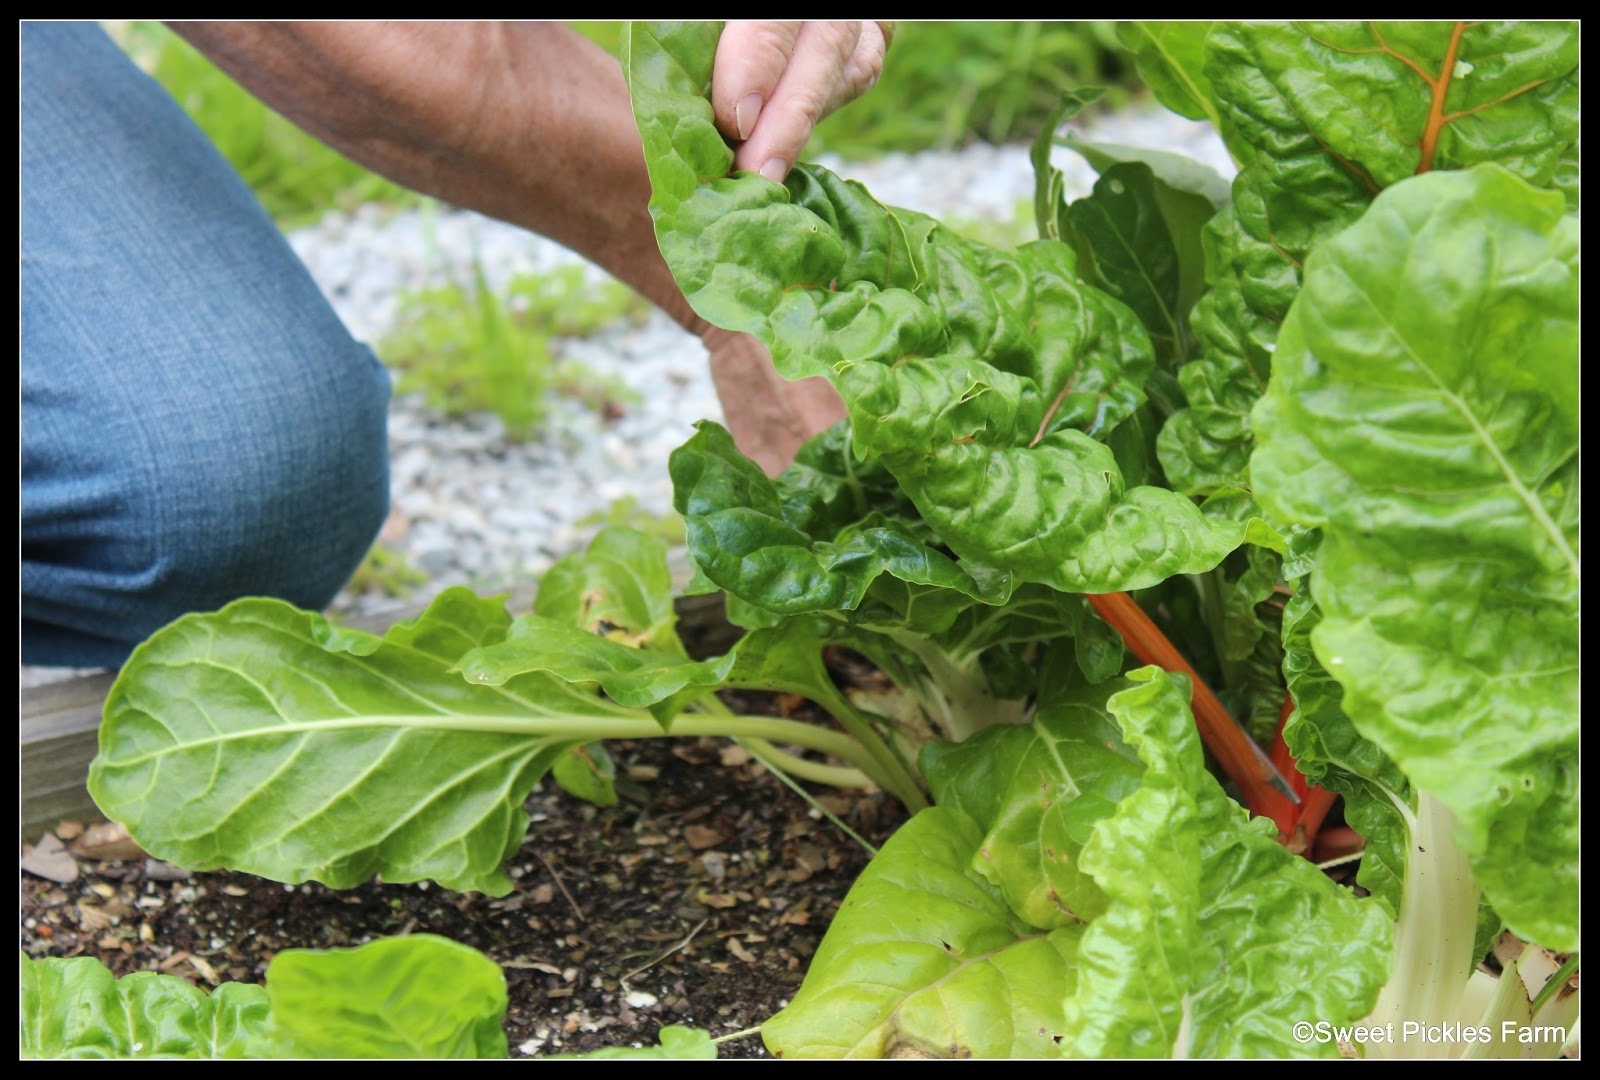
It is quite satisfying to walk out and snip some beautiful veggies that you yourself have planted from seed, nurtured and coddled, all the while realizing a great designer put it there for you to work with and enjoy...
What a beautiful color of red and green!
it was time for us to get into the kitchen and make some comfort food. Mamie found a recipe for a tart that sounded like it would be just the ticket. First she made tart pastry and placed it, rustic style, into a 9 inch springform pan, and baked till golden.
Out to the garden, (oh how we missed our little veggie patch while out-of-town!) to get some of the swiss chard.
It is quite satisfying to walk out and snip some beautiful veggies that you yourself have planted from seed, nurtured and coddled, all the while realizing a great designer put it there for you to work with and enjoy...
What a beautiful color of red and green!
We washed the swiss chard and then the chopping began! Of course, we did have to first turn on some music and pour a good glass of red wine... Below is a recipe we credit to Laura Calder. In the directions we will add some of the things we like to appease our particular palates.
Now we are ready to go to work...chop...chop...sip...chop
Here are the chard stems ready to go. Don't the leaves look so healthy?
You've got to love it; so fresh and wholesome-well, at least we do!
Gorgeous!!
Gorgeous!!
INGREDIENTS
- 1 tablespoon oil
- 2 shallots, minced
- 1 clove garlic, minced
- 4 ounces bacon, cut into lardons
- 1 1/2 pounds Swiss chard, ribs removed
- 3 eggs
- 1 cup creme fraiche or heavy cream and sour cream combined
- Kosher salt and freshly ground black pepper
- 4 ounces Gruyere cheese, grated (we used 1/2 parmesan, 1/2 Gruyere)
- Handful raisins
- Handful toasted pine nuts
- 1 deep tart shell, pre-baked in a 9-inch springform pan or a frozen deep dish pie dough, thawed
See our notes
DIRECTIONS
Preheat the oven to 375 degrees F.
Heat the oil in a saute pan and fry the shallots until soft and translucent. Add the garlic and saute for 1 minute. Remove to a plate. In the same pan, fry the bacon until the fat has rendered and the lardons are crispy. Remove to the plate with the shallots. Divide the chard leaves from the ribs: chop the ribs quite small and shred the leaves. First, fry the ribs in the bacon fat until tender. (Cook's Note: You may want to cover the pan for a few minutes to speed up the process.) Add the chard leaves to the pan, cover, and wilt, about 3 minutes. (NOTE:) We have found a splash of white wine at this point really adds to this dish. If there is quite a bit of juice after cooking, just remove the chard with a slotted spoon, then sop up juice with a piece of crusty bread as a starter-mmmmmm!
Beat the eggs together with the creme fraiche (we made our own with sour cream and heavy cream mixed together), and season with salt, and pepper.
In a large bowl, toss the shallots, bacon, chard stems and leaves, cheese, raisins, and pine nuts, to combine evenly. Taste, and season. Fill the tart shell with the vegetable mixture, and pour over the cream mixture. Bake until the tart has set, about 30 minutes. Remove the tart from the oven, and cool. Serve at room temperature.
Heat the oil in a saute pan and fry the shallots until soft and translucent. Add the garlic and saute for 1 minute. Remove to a plate. In the same pan, fry the bacon until the fat has rendered and the lardons are crispy. Remove to the plate with the shallots. Divide the chard leaves from the ribs: chop the ribs quite small and shred the leaves. First, fry the ribs in the bacon fat until tender. (Cook's Note: You may want to cover the pan for a few minutes to speed up the process.) Add the chard leaves to the pan, cover, and wilt, about 3 minutes. (NOTE:) We have found a splash of white wine at this point really adds to this dish. If there is quite a bit of juice after cooking, just remove the chard with a slotted spoon, then sop up juice with a piece of crusty bread as a starter-mmmmmm!
Beat the eggs together with the creme fraiche (we made our own with sour cream and heavy cream mixed together), and season with salt, and pepper.
In a large bowl, toss the shallots, bacon, chard stems and leaves, cheese, raisins, and pine nuts, to combine evenly. Taste, and season. Fill the tart shell with the vegetable mixture, and pour over the cream mixture. Bake until the tart has set, about 30 minutes. Remove the tart from the oven, and cool. Serve at room temperature.
Shallots are sauteing and soon we will add the garlic. At this moment the aromas let you know you have made the right choice. Smells soooo gooood. :~)
Now we saute the swiss-chard stems in the bacon drippings.
Next the greens are cooked.
After it is all cooked mix it all together. We did add the raisins to this; we chopped ours roughly (we thought it added an extra bit of sweetness that was perfect for this dish). At this point you could have eaten this right out of the pan, or as a side dish. This is where you need to try not to eat all before you finish your recipe. But you do need to get a good sampling to make sure you don't need more seasoning... we had to try ours a few times (Poppy must be really critical tonight because he had to keep trying it- at least that was his excuse)!
Now for the cream mixture.
Then pour it into the crust. Ours turned out a little rough around the edges, but that just added to the charm of the dish.
Nice and rustic! Just the way we like it.
"Try it you'll like it" !
We can just imagine sitting at a long rustic table in some European countryside with our loved ones...sipping on a glass of vino and enjoying this tart! But even on the deck of Sweet Pickles Farm is a treat...
It looks as if we will be having a bumper crop of chard very soon. We are trying out different ways to use this versatile and healthy vegetable, and we will be posting them along the way. :)
This post is copyrighted by http://sweetpicklesfarm.blogspot.com/
Friday, March 8, 2013
In Love With Swiss Chard-Really!
We have been growing swiss chard since fall. We have had it in a few recipes, and tonight we just wanted something simple for dinner, but felt we needed something green. So Mamie decided to cut some Swiss Chard and saute it up for an easy dinner. She thought about how she would like to make it, and figured a little goat cheese and balsamic vinegar could not hurt a recipe, but in the middle of cooking, she tasted the simmering chard enveloped with caramely onions, and said-"No! It is enough! This is de-vine!!!"
Let me tell you people, this is de-licious! We have some swiss chard that needed to be used from the fall; and we have some coming up for spring...
So we picked enough (we thought) for two (we should have doubled it) and cooked it up...we were ooohing and aaahing and wishing we would have made much more! Now, Mamie is from the South, but she is a "leetle" picky about her greens. She loves raw spinach and cabbage in certain salads, but cannot stand the slimey cooked versions. Some people can make a delicious pot of cooked collards, and Mamie will devour them. But usually, they make her gag. They can taste a bit like grass with the texture of warm paste to her. However, Swiss Chard is a bit different. It cooks up well, because it takes on the flavors of the seasonings and is not as bitter as some greens can be. We are so looking forward to our spring chard!
Tonight we were going to doctor up the simple recipe with a little goat cheese and balsamic, but after sampling it, Mamie felt that would be gilding the Lily. It was wonderful just simply cooked. Here is how we did it--
Now to preface all of this, we are healthy eaters. We drink lots of water, and try to get lots of greens and fiber in our diets. We do not gorge on red meat, but we do eat it once in a while. We just are not ones to eat till we are stuffed. We enjoy eating a variety of foods, but all in moderation. So please do not have a cow when we mention bacon grease. We do eat bacon, (occasionally) and we save the grease. Just a little can add a lot to a recipe that has ingredients that complement the flavor. Tonight we used a little. Oh my, so good! After a hard day's work, this was just what we needed to make us look at each other and smile...
Heat a little olive oil in a saucepan or skillet..
Add a bit of bacon drippings...
Saute the onions with a sprinkle of salt and pepper, lid on the pan, until they are softened and lightly golden.
In the meantime, pull out the stem from the leaf of the chard; you can just grip and pull with each hand, or cut out the stem with a knife. Chop the stem into 1/4 inch pieces. Then roll up the top green part into a roll, and cut into 1/2 inch strips.
This may not look like much, but if you are a lover of freshness and flavor, this will knock your boxers off...
RECIPE: a general guide:
Let me tell you people, this is de-licious! We have some swiss chard that needed to be used from the fall; and we have some coming up for spring...
Spring crop... looking good...
This is the remaining chard from fall...
Now to preface all of this, we are healthy eaters. We drink lots of water, and try to get lots of greens and fiber in our diets. We do not gorge on red meat, but we do eat it once in a while. We just are not ones to eat till we are stuffed. We enjoy eating a variety of foods, but all in moderation. So please do not have a cow when we mention bacon grease. We do eat bacon, (occasionally) and we save the grease. Just a little can add a lot to a recipe that has ingredients that complement the flavor. Tonight we used a little. Oh my, so good! After a hard day's work, this was just what we needed to make us look at each other and smile...
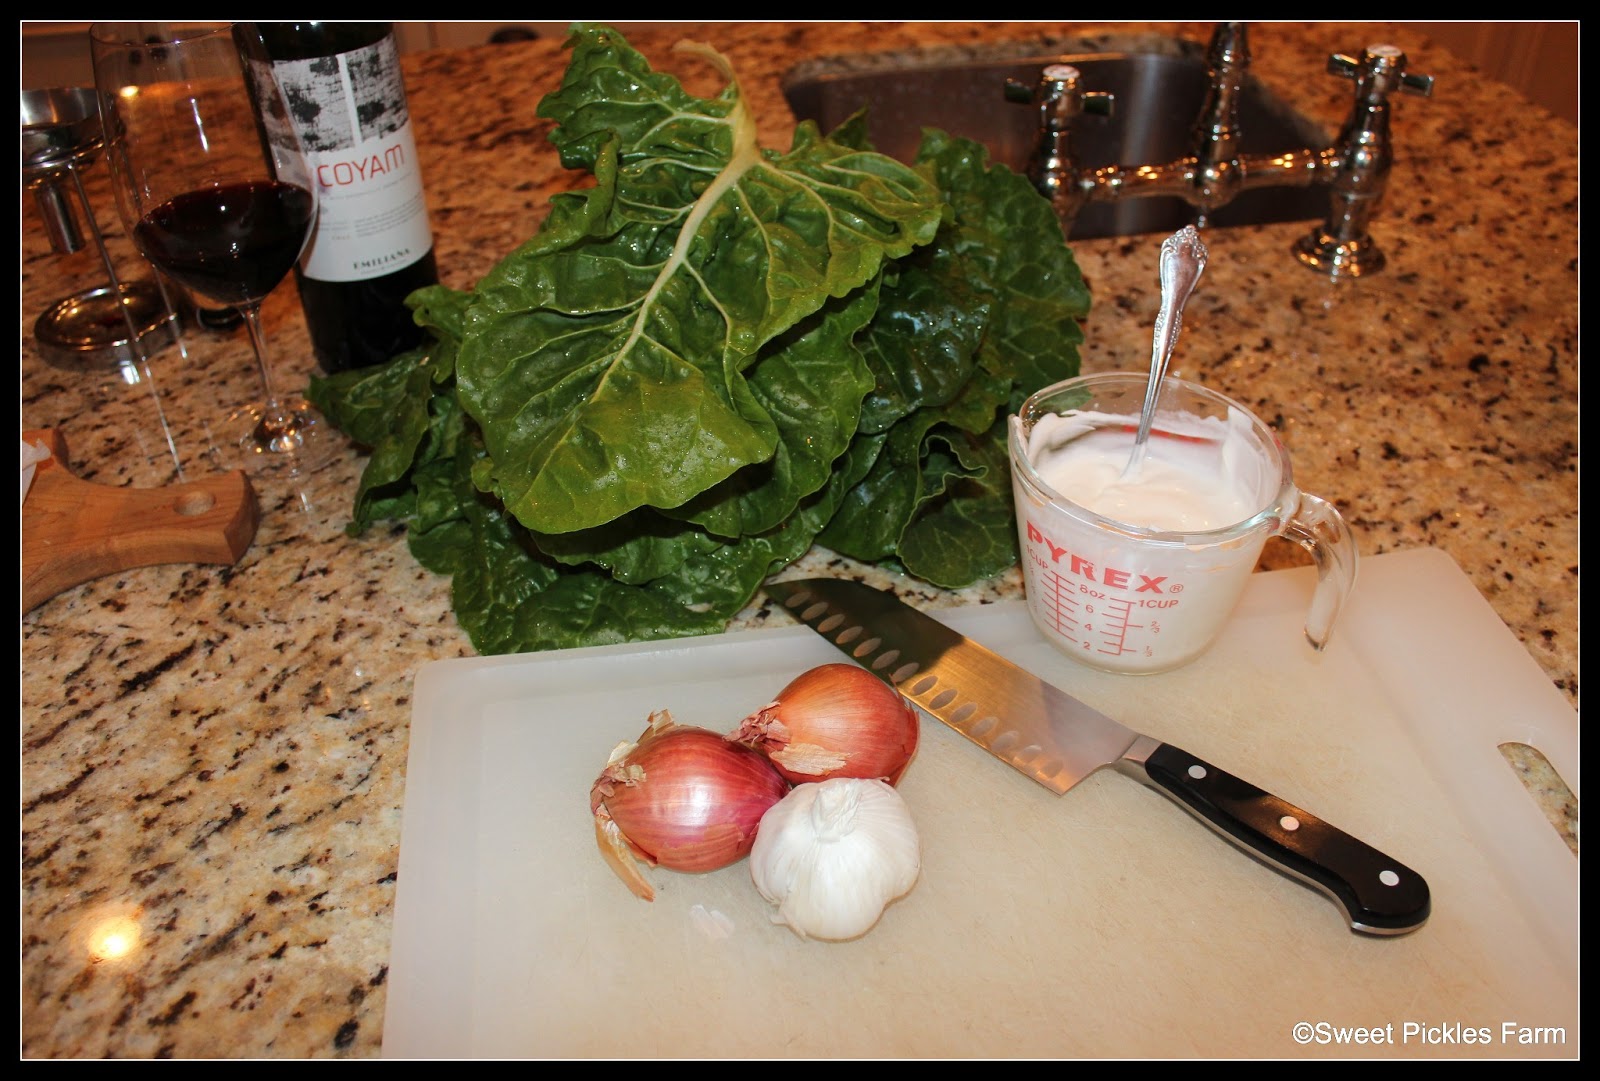
A bit of swiss chard, olive oil, (a bit of bacon drippings), white wine, salt, pepper, garlic and onion...
Chop the onion, first cutting in half, and then in thin half-rounds. Mince the garlic.
We will put a general recipe at the bottom. Tonight we were just making a half-recipe.
Heat a little olive oil in a saucepan or skillet..
Add a bit of bacon drippings...
Saute the onions with a sprinkle of salt and pepper, lid on the pan, until they are softened and lightly golden.
After the onions are tender, add the swiss chard stems, another little sprinkle of salt and pepper, stir and cook a few minutes till tender.
Then add the sliced greens and a little dry white wine...then add the chopped garlic, put the lid back on and steam till tender.
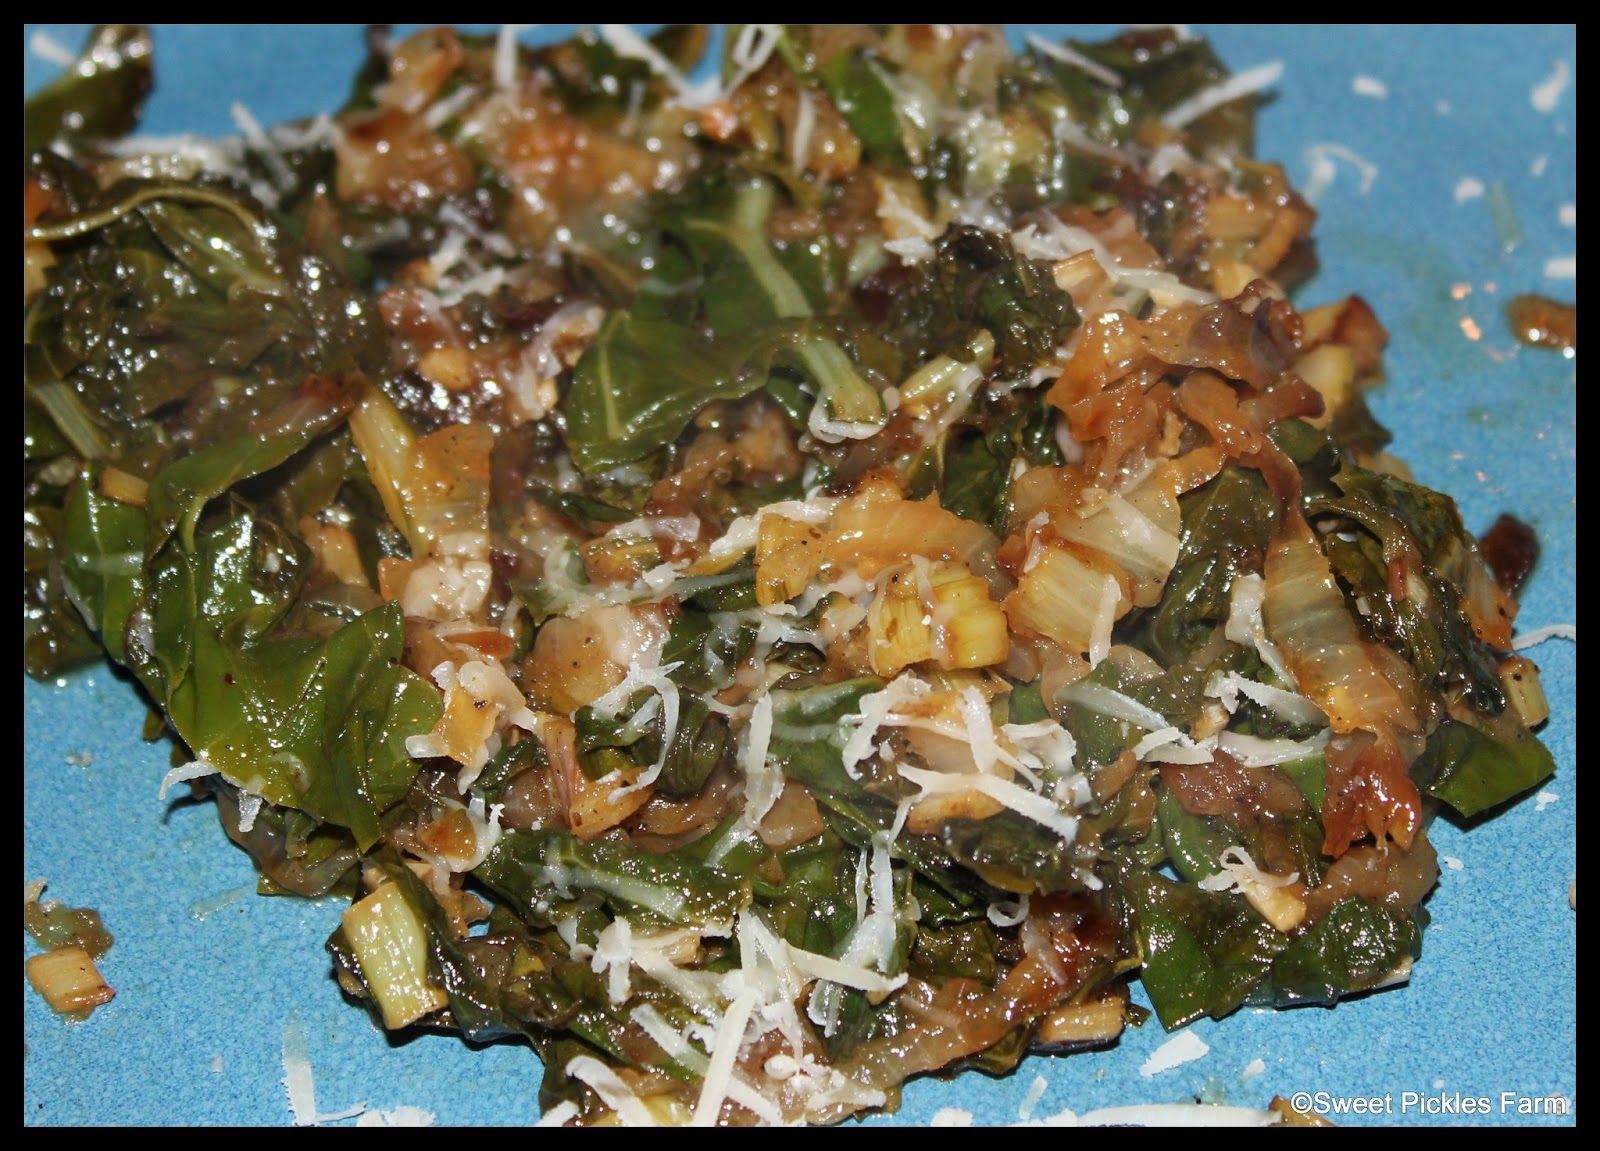
Taste for seasonings; adjust. Plate up and sprinkle on freshly grated parmesan cheese. If you want to add some umphh, toss over some toasted pine nuts...
This may not look like much, but if you are a lover of freshness and flavor, this will knock your boxers off...
RECIPE: a general guide:
Bunch of swiss chard ( about a pound or 12-15 stems)
Onion halved and sliced thin
clove of garlic, chopped finely
1 Tbsp. olive oil
1 Tbsp. bacon drippings
salt and pepper
good 1/4 cup dry white wine (could use chicken broth)
Parmesan cheese, grated
Chop the onion in thin slices; chop the garlic. Heat olive oil and bacon drippings over medium heat, then add onions. Sprinkle a pinch of salt and pepper. Put on lid, and cook until onions are tender and starting to brown. While onions are cooking, chop the stems of the swiss chard into 1/4 inch dice, and roll up the green tops and chop into 1/2 inch slices. When the onions are tender, add the swiss chard stems, a pinch of salt and pepper, and saute till tender. Then add the tops of the chard, add the wine and the garlic, stir, put on lid and cook until tender, about 3-5 minutes. Taste and adjust salt and pepper. Plate and top with grated parmesan.
This post is copyrighted by http://sweetpicklesfarm.blogspot.com/
Saturday, March 2, 2013
Panini Sammies
We were so glad to get back home after a few days on the road. We have been rather tired already after lots of goings-on, and it doesn't help much to have the winter blahs. Add to that the fact that we weren't able to pack our cooler with healthy food the way we usually try to do when we are going to be traveling. That means we were at the mercy of road-food. Ugh! We always come home feeling bloated and sluggish, and griping about how much restaurant food costs. So even though we got home at dinner-time, we still put together a decent meal that was relatively quick. We nibbled on our old standby of crackers, cheese and olives while we prepared a chicken salad with roasted veggies.
We have posted before about roasted veggies. We adore them! This time we just tossed with olive oil, salt and pepper, and roasted in the oven till done, usually about 20 minutes at 450, turning once.
We stopped at Winn-Dixie on the way home, and they had a special buy- one get- one free on chicken tenders. We tossed the tenders with olive oil, a squeeze of fresh lemon, and this time used cajun seasoning, garlic powder, and seasoned pepper and some salt. Then sauteed in a skillet till done, and they don't take long because they are pretty thin.
Another simple standby for us is a dressing whisked up with olive oil and balsamic vinegar. You don't really need more seasoning since the chicken is seasoned already. Mmmm! So good to get greens out of our own garden! And with freshly grated parmesan...Welcome home!
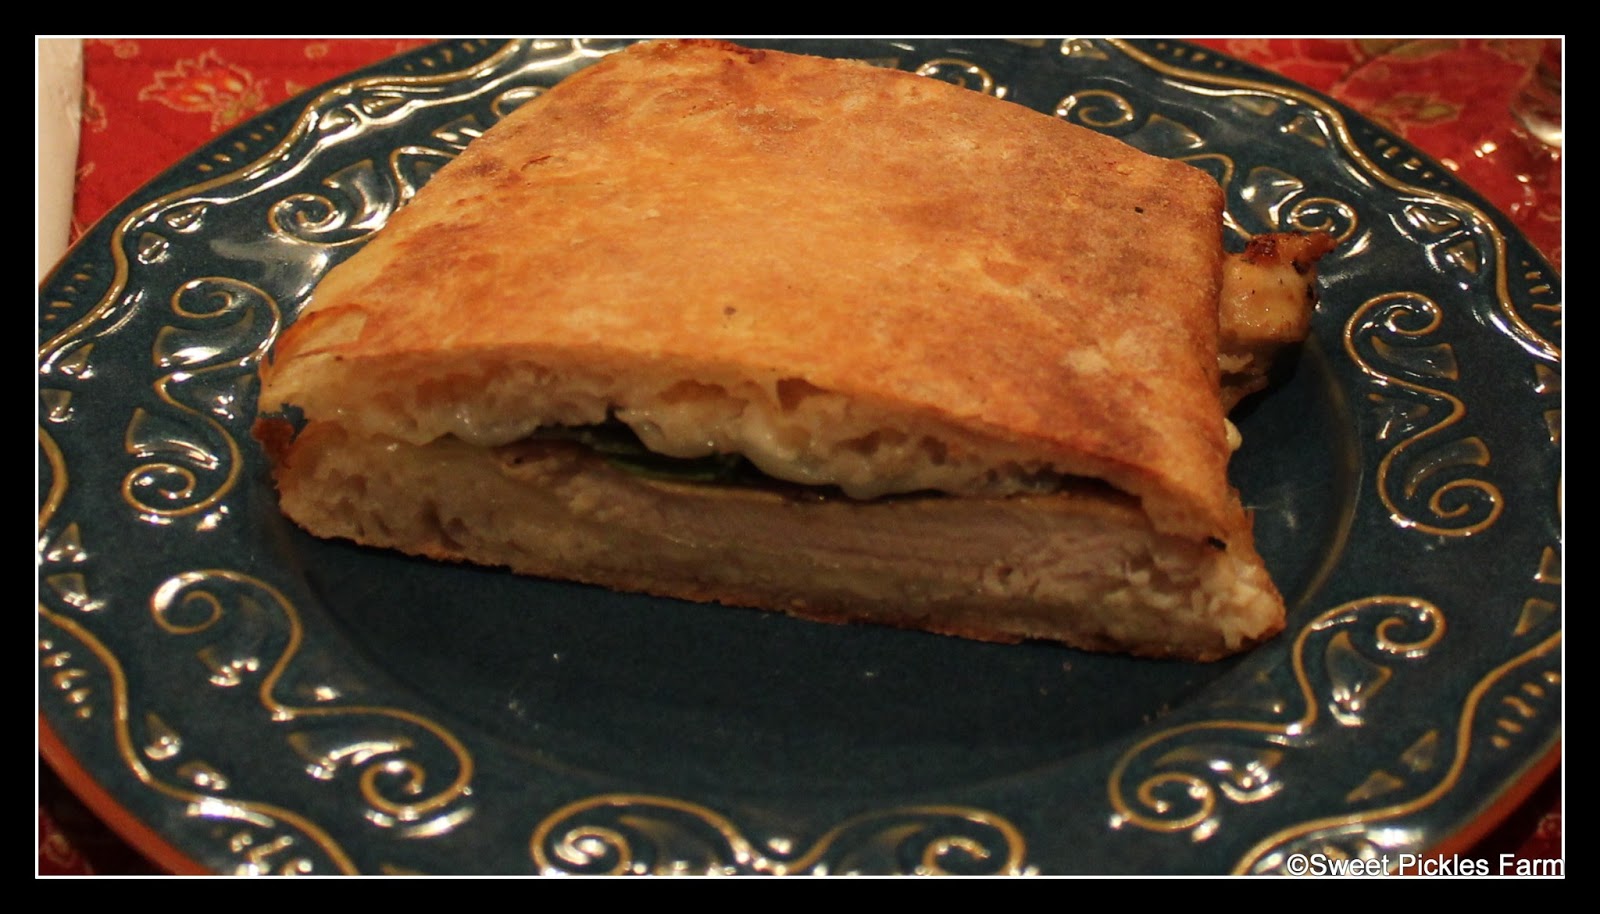
Then today, we made the ciabatta bread again, and decided to cook some more of the chicken tenders with the same seasoning as last night, and make some simple paninis. They would have been great with some more roasted red pepper, but we didn't feel like fooling with that tonight. Just mayo, chicken, swiss cheese, home grown lettuce, and pepper. Some freshly made sweet tea, and we are good to go!
Now we can go to sleep tonight with tummies happily sated with home-made goodness, not to mention in our own beds!
We have posted before about roasted veggies. We adore them! This time we just tossed with olive oil, salt and pepper, and roasted in the oven till done, usually about 20 minutes at 450, turning once.
We stopped at Winn-Dixie on the way home, and they had a special buy- one get- one free on chicken tenders. We tossed the tenders with olive oil, a squeeze of fresh lemon, and this time used cajun seasoning, garlic powder, and seasoned pepper and some salt. Then sauteed in a skillet till done, and they don't take long because they are pretty thin.
Another simple standby for us is a dressing whisked up with olive oil and balsamic vinegar. You don't really need more seasoning since the chicken is seasoned already. Mmmm! So good to get greens out of our own garden! And with freshly grated parmesan...Welcome home!
Then today, we made the ciabatta bread again, and decided to cook some more of the chicken tenders with the same seasoning as last night, and make some simple paninis. They would have been great with some more roasted red pepper, but we didn't feel like fooling with that tonight. Just mayo, chicken, swiss cheese, home grown lettuce, and pepper. Some freshly made sweet tea, and we are good to go!
Here is our fancy panini press...
Sometimes the simple foods are the most tasty...
Now we can go to sleep tonight with tummies happily sated with home-made goodness, not to mention in our own beds!
This post is copyrighted by http://sweetpicklesfarm.blogspot.com/
Tuesday, February 26, 2013
Mighty Nice Chocolate Pastry Cake.
It has been almost 18 years ago since Mamie first made a cake for me that instantly became one of my favorites. It is one that is a bit time consuming, but wow! The end results are well worth it. The recipe comes from a cookbook themed from the movie "Forrest Gump". Over the years she has made it a few times and it has always been at the top of my list. Now I have to admit that I do have a weakness for chocolate, and usually it is for almost any kind. M & M's (with peanuts of course), Snickers, Fudge, Chocolate Ice cream, Chocolate Mousse, Heath bars.......Oh, I could go on and on. One chocolate lesson I learned as a kid was that the large candy bar in the kitchen baking drawer was never meant to be eaten as a candy. Not that I ever tried a piece....(IT WASN'T ME!...) but I'm sure some kid may have tried it once.
Well, on to the cake. I have begged Mamie many times to make this for me, and today I was able to pull it off. As you can see, we have not posted for a while. This is because we have been so busy with baby showers and lots of visiting with company. So today after our company left, we decided to spend some time in the kitchen. Here is the cake and the recipe. Let us know if you try it. I know you'll love it (how could you not- it's chocolate!!!)
Next the filling...
Finally putting the cake together
The final out-come. Rustic but Wonderful Chocolate Taste. This is like other stack cakes, in that you refrigerate for several hours, (overnight is best) and the moist filling seeps into the crispy cake layers and makes them soft and delicious!
Of course we had our audience who thought that if they sat still and minded their manners, they might get a piece. Cute, but no chocolate for dogs (even though they think they are human)!
RECIPE:
Well, on to the cake. I have begged Mamie many times to make this for me, and today I was able to pull it off. As you can see, we have not posted for a while. This is because we have been so busy with baby showers and lots of visiting with company. So today after our company left, we decided to spend some time in the kitchen. Here is the cake and the recipe. Let us know if you try it. I know you'll love it (how could you not- it's chocolate!!!)
So here it is...
First we made the chocolate sauce
While that was cooling we started the cake sections.
Next the filling...
Finally putting the cake together
The final out-come. Rustic but Wonderful Chocolate Taste. This is like other stack cakes, in that you refrigerate for several hours, (overnight is best) and the moist filling seeps into the crispy cake layers and makes them soft and delicious!
Of course we had our audience who thought that if they sat still and minded their manners, they might get a piece. Cute, but no chocolate for dogs (even though they think they are human)!
RECIPE:
Mighty Nice Chocolate Pastry Cake
2 (4 ounce) packages sweet baking chocolate
1/2 cup sugar
1/2 cup water
1 1/2 teaspoons instant coffee granules
2 teaspoons vanilla extract
1 (11 ounce) package pie-crust mix
2 cups whipping cream
Garnish: chocolate curls
Combine first 4 ingredients in a heavy saucepan; cook over low heat, stirring constantly, until mixture is smooth. Stir in vanilla. Cool mixture to room temperature.
Combine pie-crust mix and 3/4 cup chocolate mixture in a small bowl; beat at medium speed with an electric mixer until smooth. Divide pastry into 6 equal portions. Press each portion onto bottom of an inverted ungreased 8-inch cake-pan to within 1/2 inch of sides (we found that it is helpful to dip your fingers into cocoa powder to press it out). Bake layers, two at a time, at 425 for 5 minutes. Trim uneven edges of circles (we did not trim ours), if necessary; run a knife under pastry to loosen it from cake-pans. Invert layers onto wax paper to cool.
Beat whipping cream until thickened but just before soft peaks form; fold in remaining chocolate mixture. Stack pastry cream layers on a serving plate, spreading about 2/3 cup whipped cream mixture between each layer. Spoon remaining whipped cream mixture on top of cake; garnish, if desired.
Cover and chill at least 8 hours before serving. Store in refrigerator. Yield; one 8-inch stack cake.
I wonder what happened to the small piece that is missing? Not that I would try a piece....(IT WASN'T ME!...)
This post is copyrighted by http://sweetpicklesfarm.blogspot.com/
Subscribe to:
Posts (Atom)